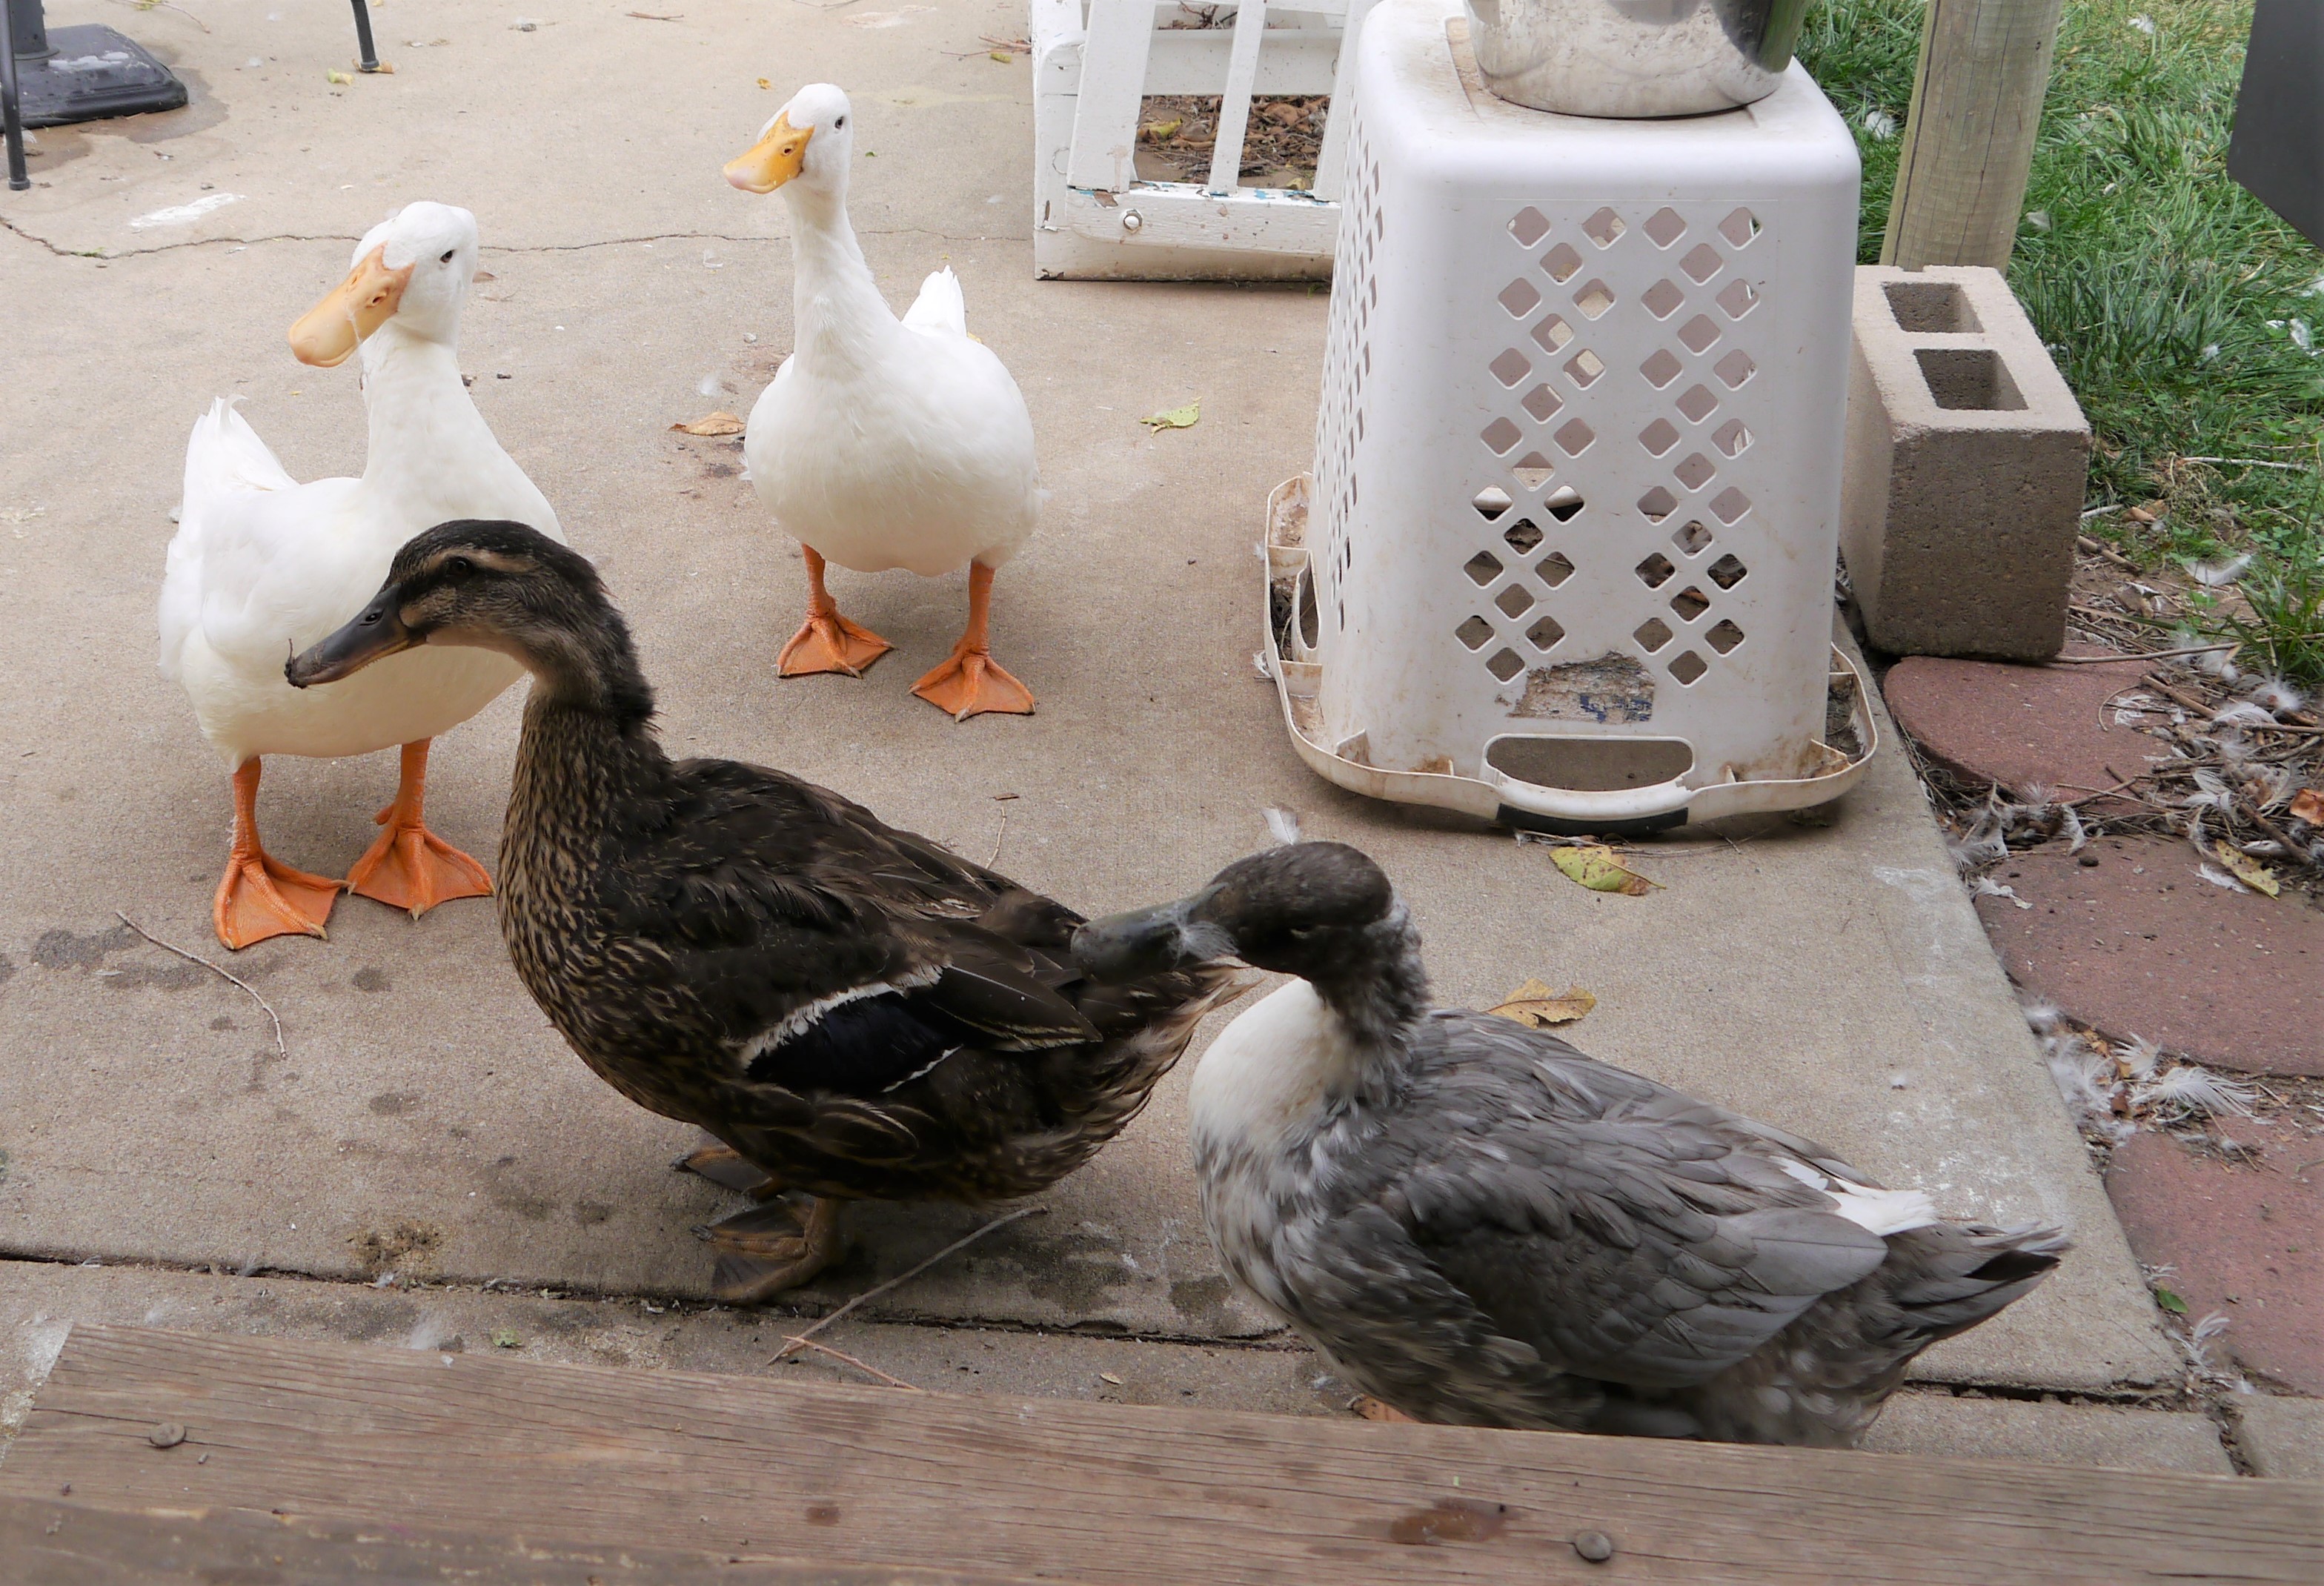
The ducks show up often at the patio door and stare in. I’ll open it to see what they want and it always feels like they are judging me and I come up inadequate. Their poorly feathered, slightly awkward flock mate. LOL
TJ Wilde Trilogy · Duxbridge Mysteries · Jennifer McCaffrey Mysteries
The ducks show up often at the patio door and stare in. I’ll open it to see what they want and it always feels like they are judging me and I come up inadequate. Their poorly feathered, slightly awkward flock mate. LOL
Ice Cream or Gelato? Why not both?!

Yummy Vanilla Nut Crunch can be found here.
And two Strawberry Ice Cream recipes here.

I have also made plenty of gelatos. It is definitely one of my favorite styles of ice cream. Smooth, creamy and not as heavy as many full cream styles.
Pictured above, Chocolate Hazelnut Gelato – one of my favorites. Recipe here.

Gelato starts with a good base that you can then add any number of flavors to:
Gelato di Crema (Gelato Plain Base)
In a heavy-bottom saucepan, combine the milk and cream. Place over medium-low heat and cook, stirring occasionally so a skin doesn’t form, until tiny bubbles start to form around the edges and the mixture reaches a temperature of 170°F.
Meanwhile, in a medium heat-proof bowl, whisk the egg yolks until smooth. Gradually whisk in the sugar until it is well incorporated and the mixture is thick and pale yellow. Temper* the egg yolks by very slowly pouring in the hot milk mixture while whisking continuously. Return the custard to the saucepan and place over low heat. Cook, stirring frequently with a wooden spoon, until the custard is thick enough to coat the back of the spoon and it reaches a temperature of 185°F. Do not bring to a boil.
*The best way to temper is to add a tablespoon at a time until you’ve added about 1/4 cup. Then you can add a full ladle at a time, slowly.
For Vanilla Gelato: Just before freezing the gelato, mix in the vanilla and then add to the ice cream freezer. Use 2-3 teaspoons of vanilla extract depending on how intense you like your vanilla flavor.

More flavor treats: Dutch Chocolate Gelato (here)

Key Lime Gelato (so refreshing) here
So before summer slips away, time to make some ice cream treats.

A few minutes into pulling bindweed and trying not to swear with every vine, my now 11-year old (how does that keep happening – wasn’t she just 4 and her dad would park his car across the driveway so she could ride her bike without worrying she’d land in the street?) neighbor stops by.
As usual, she wants to talk about plants and the household menagerie. We chat amiably for quite a while and then she disappears, as kids are wont to do. I figured she’d grown bored of watching me weed. Understandable, I was bored with weeding myself.

But no, she reappears with her mom’s gardening basket filled with gloves, tools, and a knee-pad. She slips on gloves and grabs her clippers, kneels on the pad and begins to help me trim down the iris leaves.
She also brought cilantro seeds for me to plant for the ducks.

I did figure out that scene, btw, it just didn’t happen while gardening.
 So I had another birthday not too long ago and there was much celebrating. I prefer a Key Lime Pie (recipe here) to cake on my birthday. But this year, I decided to go with Key Lime Bars instead. Easier to transport and package up as ‘thank-yous’ to various folks.

This time, I had just a few extra coconut shreds, so instead of storing them, I decided to toast them and add them to the top after I removed the bars from the oven.
Key Lime Coconut Bars
9×9 glass baking dish, mixing bowl and 36 cupcake papers
Heat oven to 350ºF. Grease square pan, 9x9x2 inches.
Mix graham cracker crumbs, coconut and butter thoroughly with fork. Press evenly in bottom of pan. Refrigerate while preparing cream cheese mixture. Beat cream cheese in small bowl with electric mixer on medium speed until light and fluffy. Gradually beat in milk until smooth. Beat in lime juice, lemon extract and lime peel. Pour into pan, spreading evenly over crust. Bake about 35 minutes or until center is set. Cool 30 minutes on rack, then cover loosely and refrigerate at least 3 hours until chilled. Cut into 24 to 36 pieces, place in cupcake papers and top with lime quarters.
x-posted at What’s 4 Dinner Solutions

I processed the few grapes I got this year into juice that I then add to my morning shakes. My neighbor gave me a handful of passion fruit, as an exchange for all my plums her toddler loves to eat. So I also added those to my shake this morning.
Not exchange was not necessary, he can have all the plums he wants! He’s a pandemic baby, born just as we went into lockdown, so I have probably seen more of him than I normally would, as mom and dad walked around the neighborhood several times a day and my office faces the street. Socially distant chats were a welcome diversion.

It’s been my pleasure to watch him grow and start walking and now starting to talk, enough to make his desire to pick plums from my tree clear. Still a nice distraction from work, as far as I’m concerned.
This morning’s smoothie:
Mixed Berry Smoothies
blender
Add all ingredients to the blender and blend well. This makes 2 thick smoothies. For more of a milkshake consistency, add 6 ice cubes and blend well. I use frozen fruit, so I don’t add the ice cubes, but sometimes a bit of water to make a smooth consistency.
x-posted at What’s 4 Dinner Solutions
